Must-Have Tools for Candle Making
Candle-making is a craft that has been around for centuries. From the early days of using tallows and beeswax to today’s modern soy and paraffin waxes, candles have always been a popular way to create ambiance in any room.
But candle making isn’t just about melting wax and pouring it into a container. It would be best if you had the right tools to create beautiful, long-lasting candles that will impress anyone.
Brief Overview of Candle-Making Tools
When it comes to candle making, there are several essential tools that you will need. A double boiler is used to melt wax without overheating it or creating hot spots that can lead to uneven burning.
A thermometer is necessary for accurate temperature readings, as different types of wax require specific temperatures for optimal melting and pouring. Wick holders are also crucial tools in candle making, ensuring your wick stays straight and centered while you pour your wax.
Pouring pitchers allow for precise wax pouring into molds or containers. Scissors & clippers help keep your wicks trimmed to the correct length before lighting your candles.
Importance of Using Proper Tools for Successful Candle Making
While you may be tempted to use whatever kitchen utensils you have on hand when making candles, this can lead to disappointing results. With proper tools, your candles may burn evenly and may have an appealing appearance due to improper pouring techniques or uneven wicks. In addition, using incorrect tools can be dangerous if you’re not careful with hot wax or open flames from lit candles.
Always invest in quality tools specifically designed for candle-making and carefully read instructions before starting any project. Having the right tools is essential when it comes to successful candle-making projects.
By investing in quality double boilers, thermometers, wick holders, pouring pitchers, and scissors & clippers, you’ll be able to create professional-looking candles that burn smoothly and beautifully. So don’t skimp on the tools – your candle-making projects will thank you for it!
Double Boiler: Melting Wax Like a Pro
If you’re an experienced candle maker, you know the importance of using a double boiler for melting wax. For those new to candle making, a double boiler is simply a container set inside another container filled with water.
The purpose of this setup is to melt wax slowly and evenly without the risk of scorching or overheating it. There are two main types of double boilers: stovetop and electric.
Stovetop double boilers usually consist of a saucepan and a heat-resistant glass bowl that fits snugly on top of it. Electric double boilers feature two separate pots with heating elements that maintain optimal temperature control automatically.
To use a double boiler stovetop, add water to the bottom saucepan and boil over medium-high heat. Place the glass bowl on top, making sure it rests securely on the rim without touching the water.
Add your wax to the bowl, stir occasionally until melted, then remove from heat. For electric double boilers, follow the manufacturer’s instructions for filling each pot with water and wax.
Please turn on the machine and let it do its thing until your wax is melted to perfection. Investing in a high-quality double boiler will help you achieve flawless results when melting wax for your candles.
Whether you opt for stovetop or electric models will depend on your preferences and budget. With proper use, your candles will be smoother and more consistent in texture than ever before!
The Importance of Temperature Control in Candle Making
Temperature control is one of the most important aspects of candle making. It directly affects the quality and consistency of your candles.
Not only do you need to make sure that your wax is at the right temperature when you pour it, but you also need to maintain that temperature throughout the entire process. This ensures that your candles solidify properly and don’t end up with any defects or imperfections.
Types of Thermometers Used in Candle Making
Two types of thermometers are commonly used in candle making: digital and analog. Digital thermometers are easier to read and give more precise measurements, while analog thermometers require a bit more attention to read accurately but can be more affordable.
You can find both types of thermometers at your local craft store or online. Look for ones that have a temperature range suitable for candle making and can be easily cleaned after use.
How to Use a Thermometer for Accurate Temperature Readings
To use a thermometer for accurate readings, it’s important first to make sure it’s calibrated properly. This means placing it in boiling water (212°F/100°C) or ice water (32°F/0°C) and adjusting it accordingly if necessary. Once calibrated, use the thermometer to monitor the wax temperature as you melt it down, add fragrance oils or other additives, and pour it into molds.
Make sure to keep stirring the wax throughout this process so that all areas are evenly heated. If using multiple colors or layers in your candles, remember to check the temperature before pouring each layer or color so you don’t end up pouring at too high or low temperatures, which could affect how they bond together.
Wick Holders
Definition and purpose
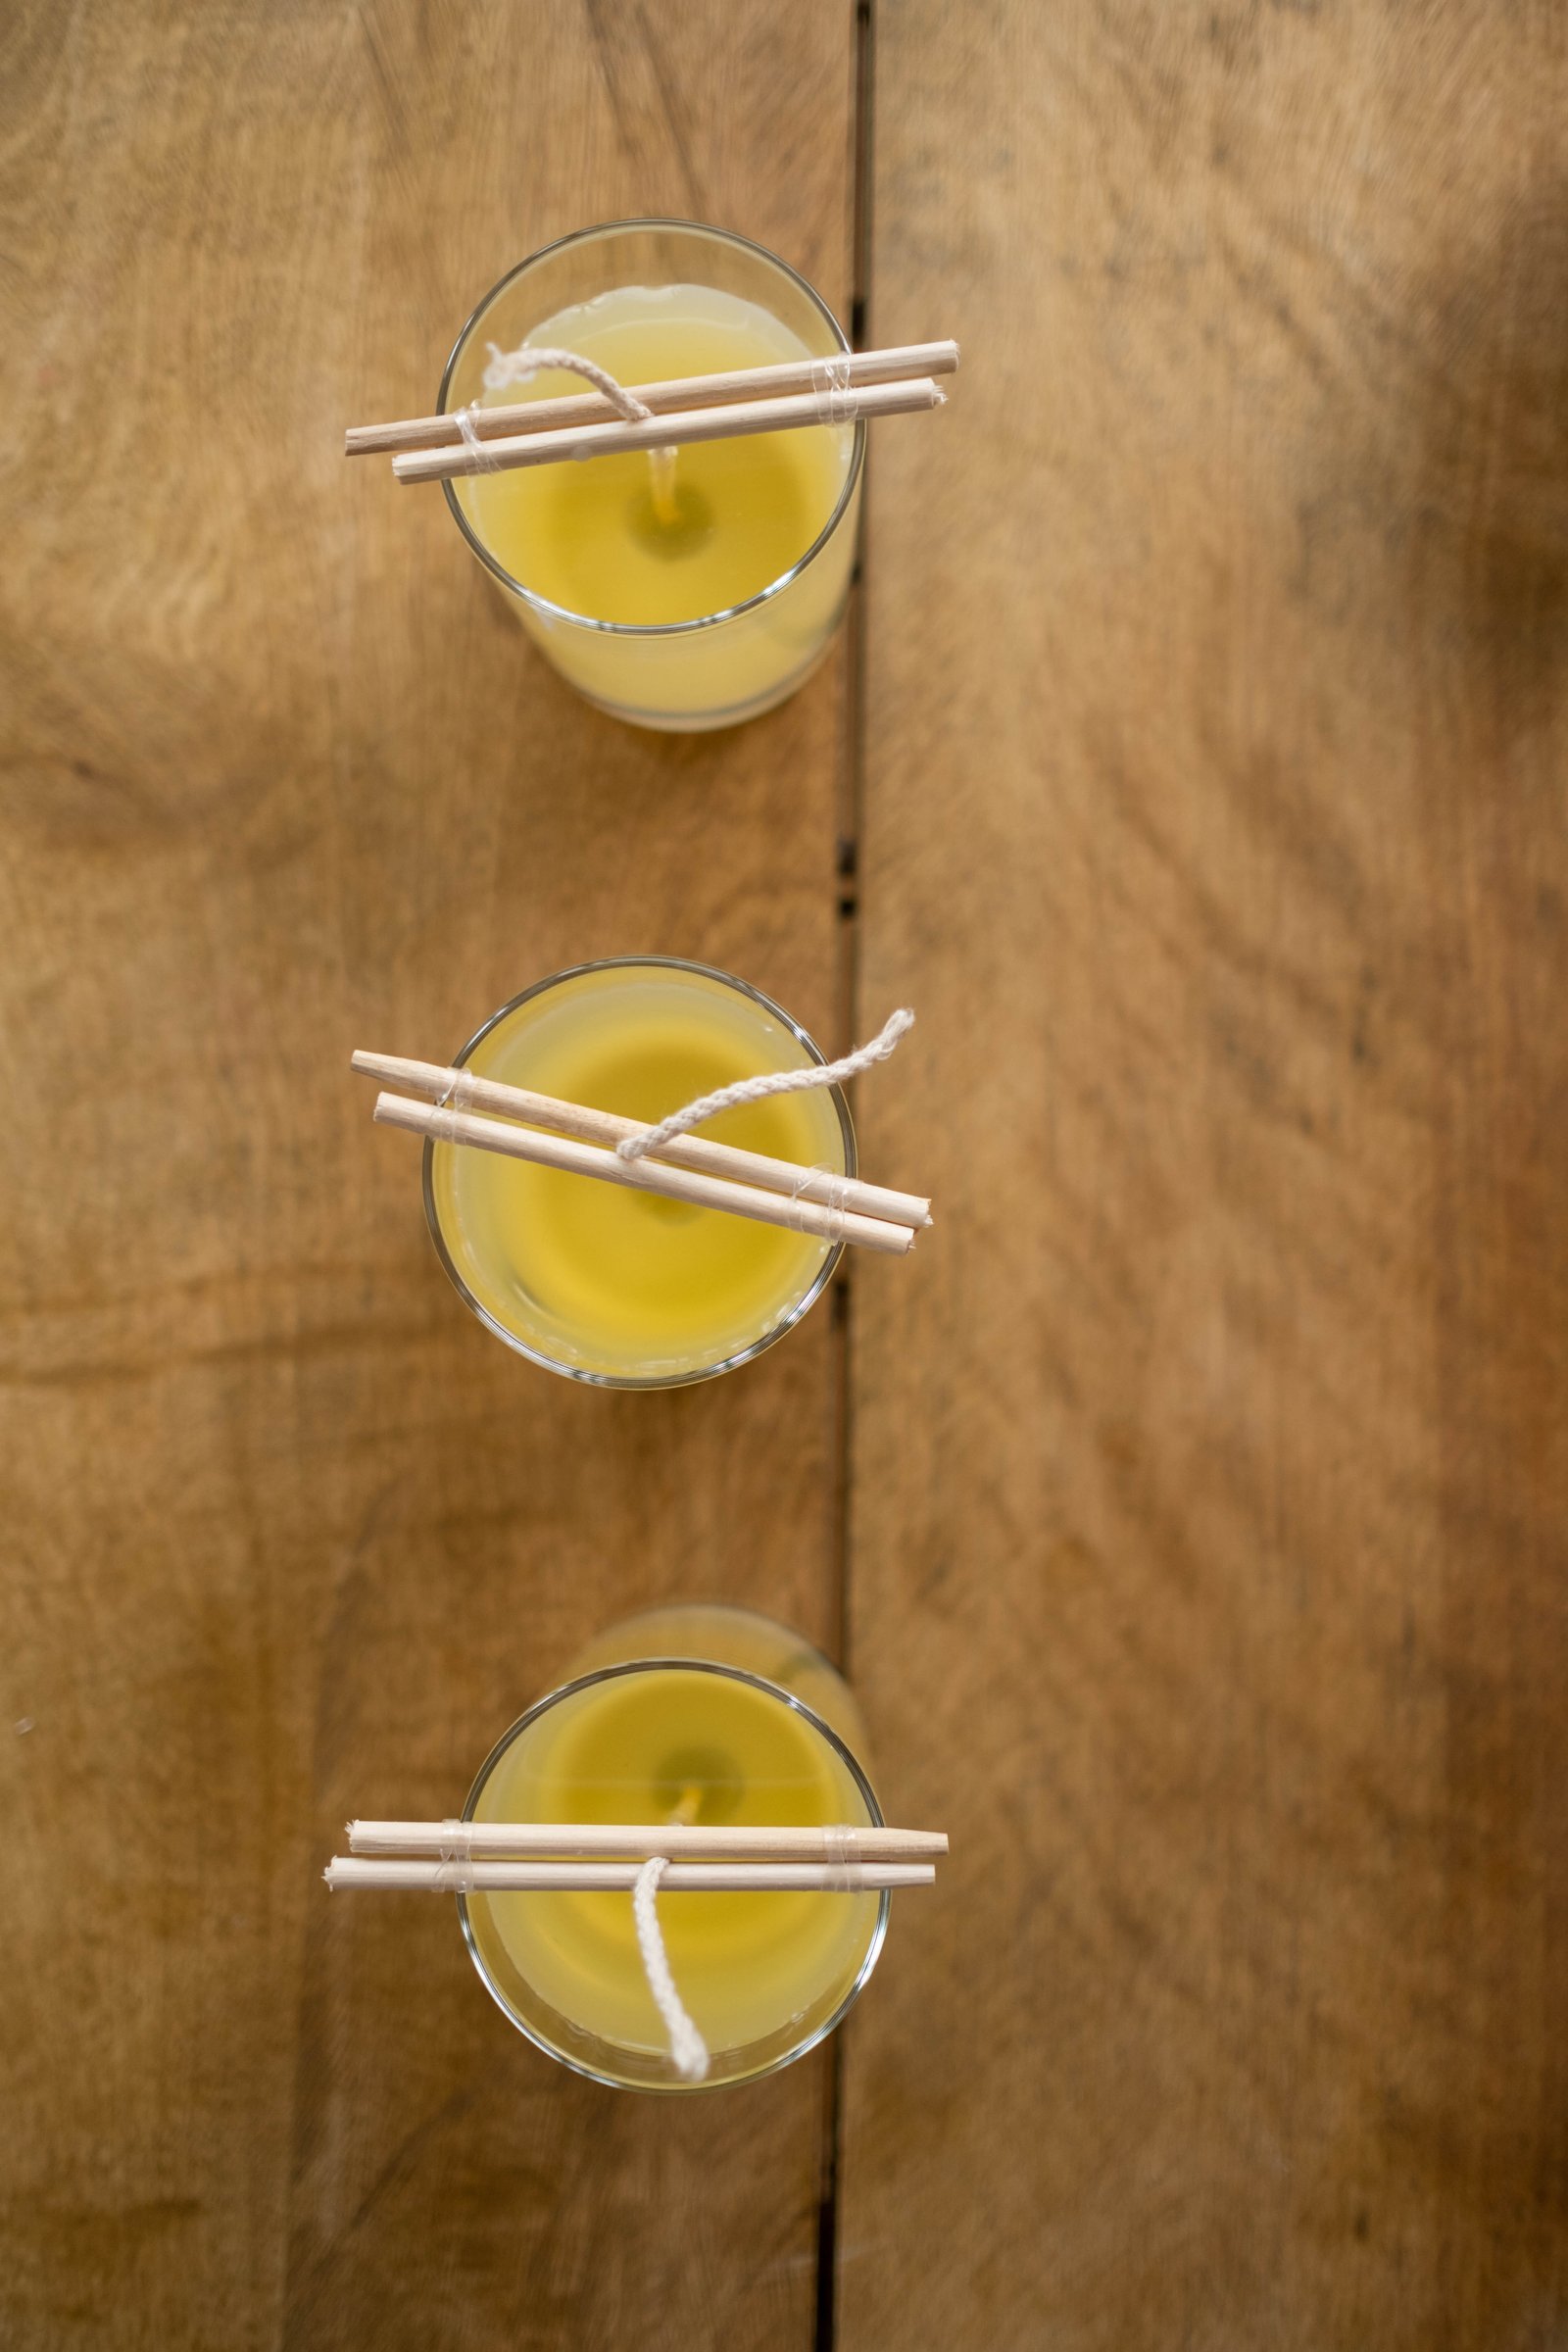
Wick holders are small metal devices that keep the wicks straight and centered while pouring hot wax into the candle molds. They are crucial for creating straight, even-burning candles.
Wick holders come in various shapes and sizes to accommodate different candle sizes and shapes. Some are made of metal, while others are made of plastic or silicone.
Types of Wick Holders
Different types of wick holders are available in the market, depending on their shape and size. The most common ones are metal wick bars, wick centering tools, and wick clips. Metal wick bars come in different shapes, like round or square, and have slits where you slide the wicks through them.
Wick-centering tools hold the wicks vertically while pouring hot wax around them to create a straight candle. Your typical wick clips hold your pre-tabbed or pre-waxed candlewick at the bottom of your container.
How to use a Wick Holder for Straight and Centered Wicks
Using a wick holder is easy; it involves sliding the metal bar over your already prepared pre-tabbed or pre-waxed candlewick or placing it inside a centering tool before pouring hot wax into your container or mold around it. Ensure that the holder is snug enough to keep your wick straight but not too tight that it damages it. When using multiple-wicked molds like votives or pillars with multiple vertical holes, make sure to use an appropriate number of wick holders equal to each hole on the mold to maintain equal spacing between each one.
Always remove the holder after pouring wax into your mold before letting it set for 1-2 hours minimum before trimming down each one’s length evenly up top with scissors so that your wick is ready for lighting once the candle has set completely. With wick holders, you’ll achieve a consistently straight and centered candle every time you pour the wax into your mold.
Pouring Pitcher
Definition and Purpose
A pouring pitcher is a type of container used specifically for melting and pouring wax. It is designed with a spout that allows controlled pouring, making it an essential tool for candle-making. The purpose of using a pouring pitcher is to ensure that the wax is poured into the candle mold or container without any spills or messes, resulting in high-quality candles.
Types of Pouring Pitchers
There are several types of pouring pitchers available on the market. Glass and metal are two common materials used to make these pitchers.
Glass pitchers have the advantage of being able to see how much wax is left inside, while metal pitchers are more durable and can withstand higher temperatures. Some pouring pitchers also come with lids, which can help keep the wax clean and prevent debris from falling in.
Another pouring pitcher is called a pour pot, which has a longer spout than other pitchers. This makes it ideal for pouring wax into small openings or tight spaces, such as tealight molds or votive holders.
How to Use a Pouring Pitcher for Precise Wax Pouring
First, use a pouring pitcher, and melt your wax in a double boiler until it reaches the desired temperature. Then carefully pour the melted wax into your pouring pitcher and hold it steady with one hand while using the other hand to pour the wax into your candle mold or container. Make sure that you pour slowly and steadily so that you don’t spill any hot wax onto yourself or your work surface.
If you’re using a wick holder to keep your wick centered, make sure that you pour around it so that the wick stays straight. After you’ve poured the desired amount of wax into your mold or container, carefully set down your pouring pitcher on a heat-resistant surface and allow the wax to cool and solidify.
Once your candle has hardened, you can remove it from the mold or container and trim the wick to the desired length. Using a pouring pitcher is essential for precise wax pouring, which is key to creating beautiful and high-quality candles.
Candle Molds
Definition and Purpose
Candle molds are a crucial tool in the candle-making process. These molds are used to shape the melted wax into various designs and sizes.
They can be made from different materials, such as silicone, plastic, metal, or glass, and come in many shapes and sizes, such as pillar, votive, container, or novelty. The purpose of using a mold is to shape the wax and create a smooth surface on the candle’s exterior.
Types of Molds Used in Candle Making
There are many types of candle molds available that cater to different needs. One of the most common types is pillar molds which come in various widths and lengths.
These are suitable for making pillars or tapered candles. Votive holders and containers can be used as molds for making container candles where melted wax is poured into pre-selected jars or containers with wicks inserted into them.
Another type of mold used in candle making is the tea light mold which creates small tea lights that can be placed in special holders or used as decoration pieces around your home. For creative minds, novelty or shaped molds are available with intricate designs that produce uniquely shaped candles like flowers, animals, or anything you can imagine.
How to Choose the Right Mold for Your Candles
Choosing the right mold depends on several factors, such as what type of candle you want to make, how many candles you need at a time, and budget constraints, among others. If you want to make larger-sized candles like pillars or tapers, then pillar molds would be a good choice, whereas if you prefer smaller-sized candles, then votive holders would suit your needs well.
When considering how many candles you want at any given time, think about purchasing multiple smaller-sized container jars instead of investing in larger ones since this will help vary your candle collection. Always factor in the cost of the mold as well as the number of candles you plan to make.
Higher-quality molds like silicone can be costly, but last longer, so it’s an investment that pays off in the long run. Choosing the right candle mold is essential for creating aesthetically pleasing and functional candles.
Definition and Purpose
Scissors and clippers are essential tools for candle-making. They are used to trim the wick to the appropriate length and also to cut the excess wax from around the wick after it has cooled.
Scissors and clippers come in various sizes, shapes, and materials depending on their purpose. The main purpose of scissors and clippers is to ensure that the wick is at the right length for optimal burning.
A long wick can cause a too-big flame, which can lead to soot buildup, while a short wick can result in an uneven burn. Therefore, it’s crucial to use scissors or clippers when making candles.
Different Types of Scissors & Clippers Used in Candle Making
There are different types of scissors and clippers used in candle making. Regular scissors can be used for trimming cotton or paper-core wicks, while serrated scissors work better for braided or wooden wicks. Wick trimmers are also available that are specifically designed for cutting down the length of candle wicks.
Another type of clipper commonly used in candle making is called a lip clipper. This tool helps remove any excess wax from around the edge of a container candle while keeping the wax level intact.
How to Use Scissors & Clippers Properly
When using scissors or clippers for candle making, it’s important not to cut too close to the wax surface as this could cause damage or breakage. Instead, leave about 1/4 inch of wick above the surface of your candle wax. To use clippers properly, gently squeeze them together as close as possible to where you want to cut your wick without touching your candles’ surface or container walls.
Then snip off any excess slowly by moving your hand away from the wax. Scissors and clippers are crucial tools for candle making.
They help ensure that your candle burns evenly and cleanly while also allowing you to remove any excess wax. With the right set of scissors or clippers, you’ll be well on your way to creating beautiful candles that look and smell amazing!
Conclusion
Candle-making is a rewarding and enjoyable hobby, but it requires the use of proper tools for successful results. Each tool plays a key role in the candle-making process, from a double boiler to scissors and clippers. Investing in quality tools ensures that your candles will turn out just as you envisioned them.
Recap on the Importance of Using Proper Tools
If you want to create beautiful candles that burn evenly and smell amazing, using the proper tools is essential. A double boiler allows you to melt wax without overheating it or creating hot spots safely.
Thermometers help you control precise temperature, which is critical when adding fragrance oils or molding candles. Wick holders ensure that your candle wicks stay straight and centered while setting.
Using low-quality tools may lead to frustrating results such as uneven burning, poor scent throw, or even accidents like wax spills or burns. Investing in high-quality tools may seem like an expense initially but it will pay off in the long run by helping avoid mistakes and creating stunningly beautiful candles.
Encourage Readers to Invest in Quality Tools
If you’re serious about getting into candle making, it’s worth investing in good-quality tools. Quality candle-making supplies are easier to use and help ensure better results with every batch of candles made. Your finished products will look professional and perform better when compared with those made with inferior or inappropriate equipment.
Remember: properly-made candles are a joyous experience for both yourself and your loved ones who receive them! So don’t hesitate – invest in good quality equipment so that your creations can shine brightly!